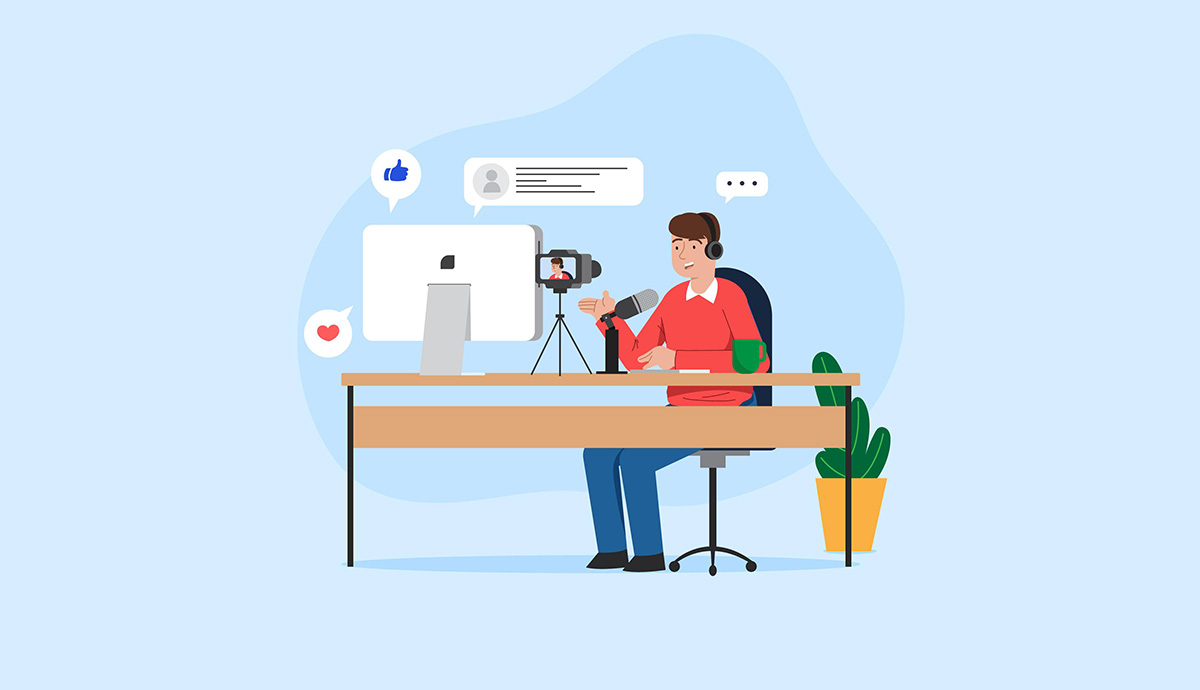
You're a pro in your field and you want to make videos to show what you know. But you ask yourself: how do I film my computer screen? There are so many choices, it's difficult to know which tool to get.
Filming your screen well is super important so that your videos are great.
In this article, we will talk about best ways to film your screen. Together we will find tools that are easy to use and that make your videos super clear and interesting.
How to find the right software to record your screen?
The right screenshot tool can make all the difference. You want something that is easy to use, but gives good quality videos.
Here are some points to consider:
- Ease of use : You don't need to be an IT pro. Look for simple software with clear instructions.
- Recording quality : Your videos must be clear and without cuts. Make sure the software you choose can record in high quality.
- Additional features : Tools like zoom, annotations, or the ability to record your voice can make your tutorials more interesting.
- Compatibility : Check that the software works on your computer, whether you have a Mac, PC, or other.
- Price : There are free and paid options. Think about what you are willing to spend.
5 Tools to Record Screen for Effective Video Tutorials
To help you find the best tool to film your screens for your videos, we have chosen five popular tools for you.
They are easy to use and perfect for making good videos.
- Movavi Screen Recorder : Known for its ease of use, Movavi is ideal for recording tutorials, webinars, or gaming sessions. It also offers useful editing functions.
- OBS Studio : Popular with streamers, OBS Studio is a free and open source tool, perfect for those looking for a more technical solution.
- Shotcut : It is an open-source video editor that can also be used for screen recording tasks. Although it doesn't have all the features of Movavi Screen Recorder, it is complete enough for most needs
- CamStudio : This is another free alternative that can record all screen and audio activities on your computer. It is simple and suitable for beginners.
- SimpleScreenRecorder : It is an open-source tool which, as its name suggests, is simple to use. It's good enough for recording games and other screen activities
In the remainder of this article, we will mainly focus on Movavi Screen Recorder. We'll explore its features in detail, how to use it effectively for your tutorials, and share tips for maximizing its potential.
Preparation before capture

Preparation is a key step before you start recording your video tutorial. Start with make a plan or script. This helps you structure your tutorial and ensure that you cover all the essential points smoothly and logically.
Then, configure your workspace. Close any unnecessary applications that could slow down your computer or interrupt recording.
Clean up your virtual desktop to leave only the windows necessary for your tutorial.
If your tutorial depends on an internet connection, make sure it is stable and fast to avoid any interruptions.
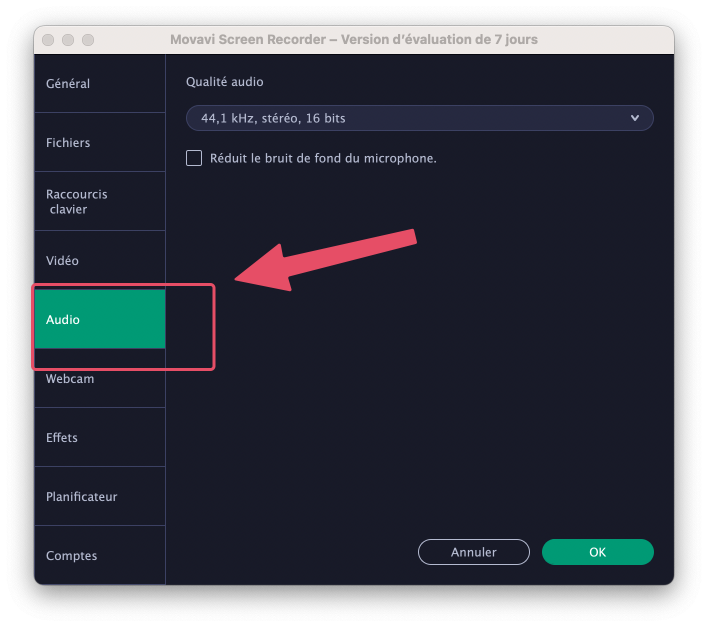
Finally, pay close attention to your audio settings. A good microphone is crucial to ensure clear sound quality. Minimize ambient noise as much as possible.
Steps to film your screen with Movavi
To film your screen with Movavi Screen Recorder, here are the steps to follow:
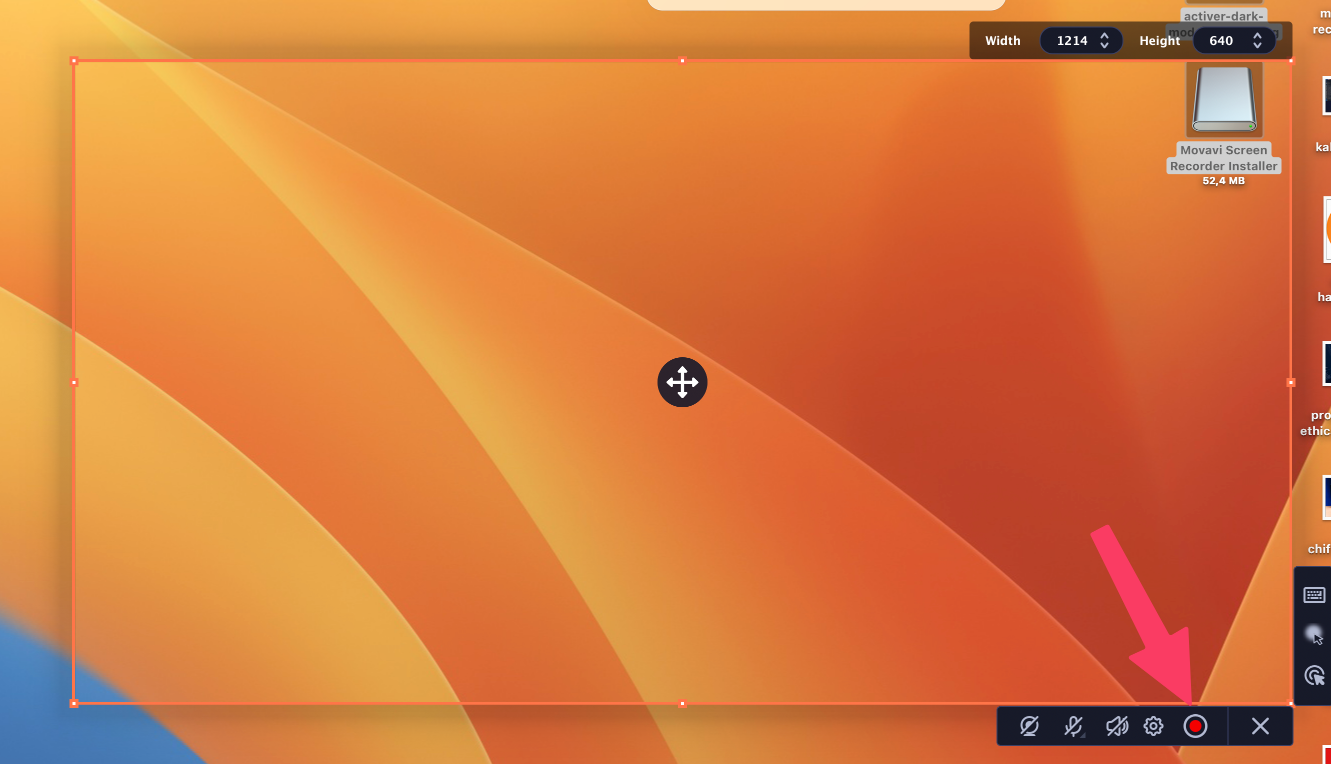
- First of all, download and open Movavi Screen Recorder and choose which part of the screen you want to record, whether it's the entire screen or just a specific section.
- Then, before starting the recording, take the time to configure your options. Choose the quality of the audio recording.
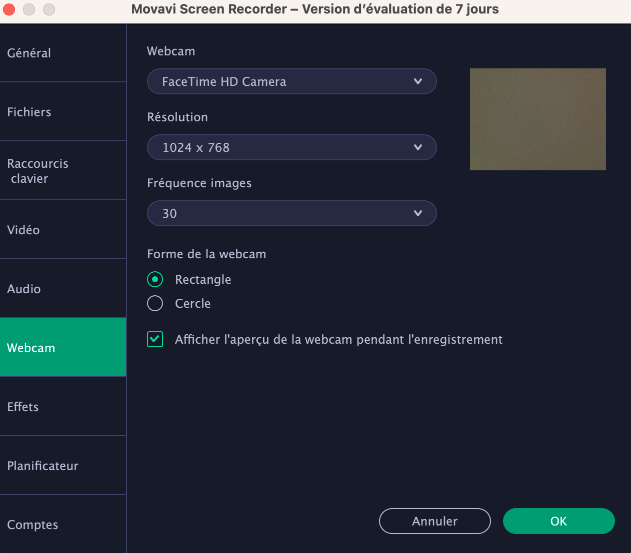
- If you want to appear in your tutorial, don't forget to also activate your webcam.
- When you're ready to record your video, click the record button to start.
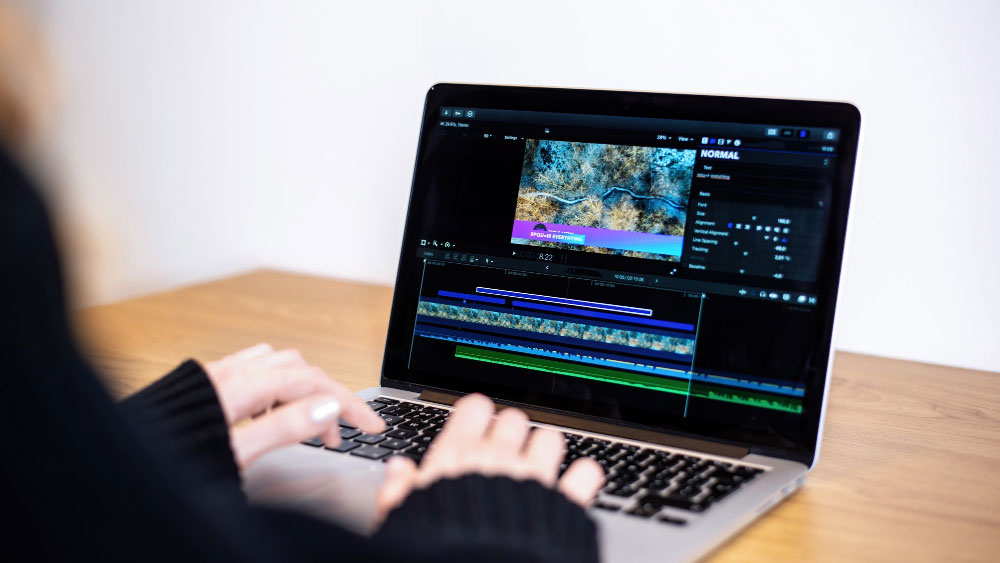
- Then, you can annotate your recording in real time with circles, squares, or arrows to highlight specific points or guide your audience more effectively.
- After finishing, stop recording. Movavi then lets you review and trim your video. This is the perfect time to remove unnecessary parts and polish your work.
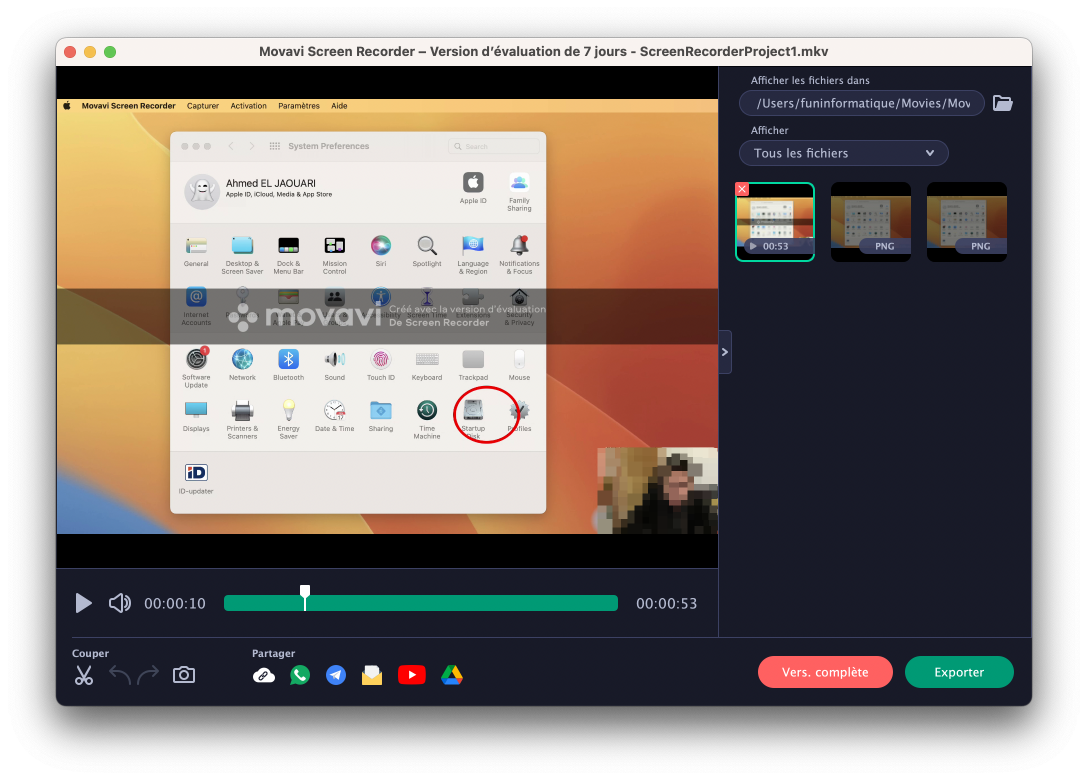
- Finally, save your tutorial in the desired format.
By following these simple yet comprehensive steps, you can use Movavi Screen Recorder to create engaging and informative video tutorials, tailored to your needs and audience.
Publishing and sharing
Once your video tutorial is ready, it's time to share it. You have several choices for publishing platform: YouTube is ideal for a large audience, Vimeo is suitable for a more professional look, or you can opt for your personal website if you want more control over distribution.
Regarding export formats, MP4 is recommended for its quality and compatibility with most platforms.
Make sure the resolution and bitrate are appropriate for optimal rendering on different screens and devices.
Conclusion
Creating clear, high-quality video tutorials is essential to effectively sharing your knowledge. With the right tools, like Movavi Screen Recorder, and a little practice, you can produce content that captivates and informs your audience.
We encourage you to start creating your own tutorials now, exploring the creativity and possibilities these tools offer. Your knowledge is valuable, and sharing it can make a big difference to those who learn from you.