
Last updated: February 11, 2023
You like to have free internet access ? Today, most cafes, hotels, shopping malls, airports and other places offer their customers free wifi access. That's good, but are you sure that you are really connecting to a real WiFi network and not to something designed to steal all your passwords?
It's difficult to know, but to show you how simple this type of thing is to implement, we're going to present the mitmAP tool.
mitmAP is a small Python program that automatically creates a fake access point with several features.
In this tutorial we will see how create a wifi hotspot with a computer under Kali Linux. You will be able to use this hotspot to share your connection, but the goal here is to see how hackers can easily manipulate traffic and collect confidential information.
What is a fake WiFi hotspot?
A fake WiFi hotspot is a kind ofhoneypot» created from scratch to intercept the traffic of potential targets who would come to connect to it. The attacker can then listen to the packets (attacks Man-inthe-middle) and retrieve interesting data such as cookies, usernames / passwords or FreeWiFi, SFR WiFi Public connection codes, etc.
Of course, retrieving information in this way is clearly prohibited, but the purpose of our demonstration is to educate users about the risks of open hotspots.
The technique consists of making the victim believe that they are speaking to a trusted third party – bank, administration, etc. — in order to extract personal information: password, credit card number, number or photocopy of the national identity card, date of birth, etc.
Example of using mitmAP
In order to set up a test environment, you will need to have a machine running Linux and download the mitmAP tool.
Installing the mitmAP tool
To download the mitmAP tool, you can find it here: https://github.com/xdavidhu/mitmAP
Here is the install command:
Launch the mitmAP tool
Then just run it with python3 and it will automatically install all the missing dependencies.
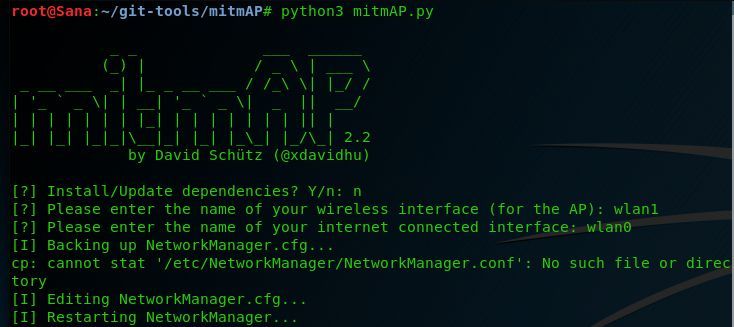
sudo python3 mitmAP.py
Configure Fake Wifi Hostpot
At this stage, you will need two Wifi network interfaces:
- The first device is the wireless interface you want to use as an access point (hostpot)
- The second device is the interface you want to use for the WAN connection.
In this test, we used an external USB Wifi card to act as hostpot (wlan1) and a wireless card built into our machine (wlan0) to act as WAN connection. Use the 'ifconfig' command to view your Internet interfaces and modify them accordingly.
Once you have sorted your interfaces, run MitmAP again with the command below.

After entering the interface names, you will be asked if you want to use SSLStrip . This tool will attempt to downgrade client connections to HTTP instead of HTTPS. This can be a great way to capture credentials, so we'll enable it.
Next, you will be prompted to enter an SSID (service set identifier) for the hotspot – this is the name of your fake Wifi Hostpot. If you enable encryption, you will need to set a password.
Then you are asked if you want to use Tshark. Obviously, for this attack to be useful we would need a pcap (packet capture) log, so we selected yes.
Finally, MitmAP will ask you if you want to manually configure DNS spoofing. We left the default option of no.
Voila, you're done! Your fake Hostpot Wifi is ready and working perfectly. All you have to do now is wait for the user to connect to your fake Wifi network.
Capture the information circulating on the hotspot
Now that we've captured some information, let's see what we get when we close the evil hostpot.
To stop the hotspot you need to use Ctrl + C two times in a row. MitmAP stops and fixes its changes to the system.
All recovered information is stored in the folder mitmAP/logs.
For example, to find the captured passwords in the logs, one needs to run the following command in the terminal:
grep -a site name mitmap-sslstrip.log | grep passwd –color=always.
This command searches the file for the string “passwd” and colors it. The -a argument treats a binary file as if it were text. This is necessary because the generated log is a data file.